Doodah
Members
-
Joined
-
Last visited
Everything posted by Doodah
-
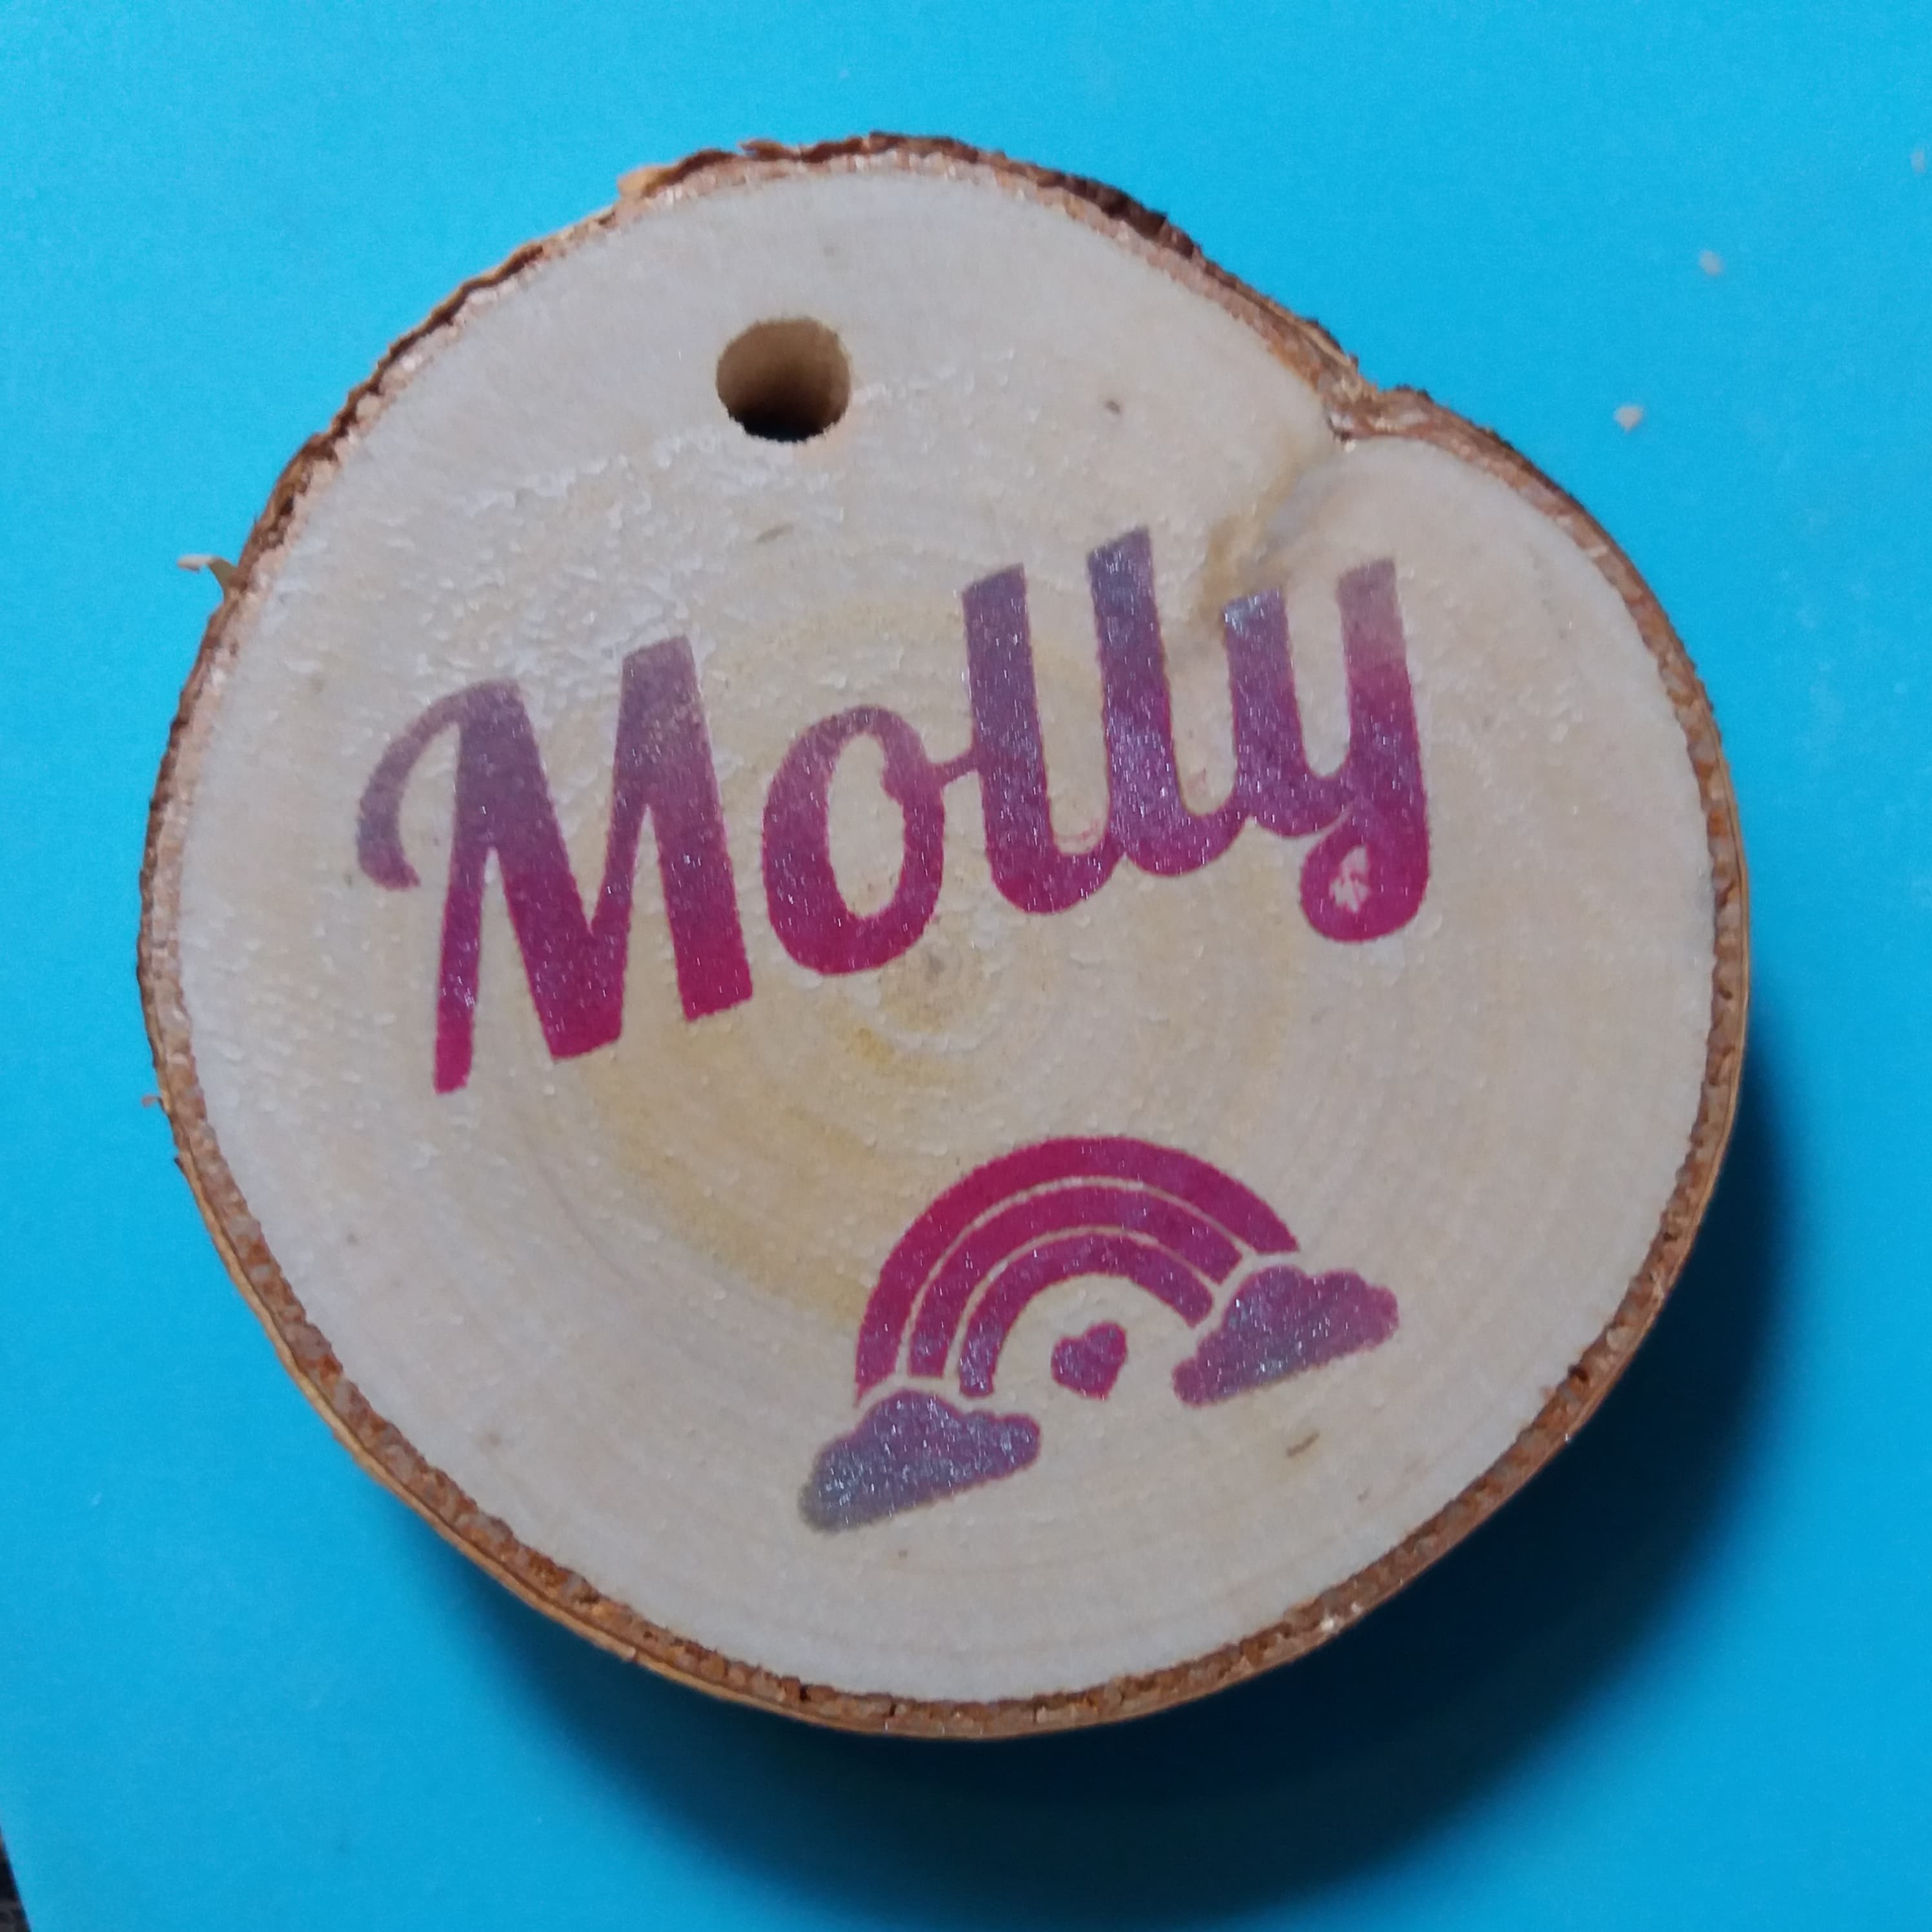
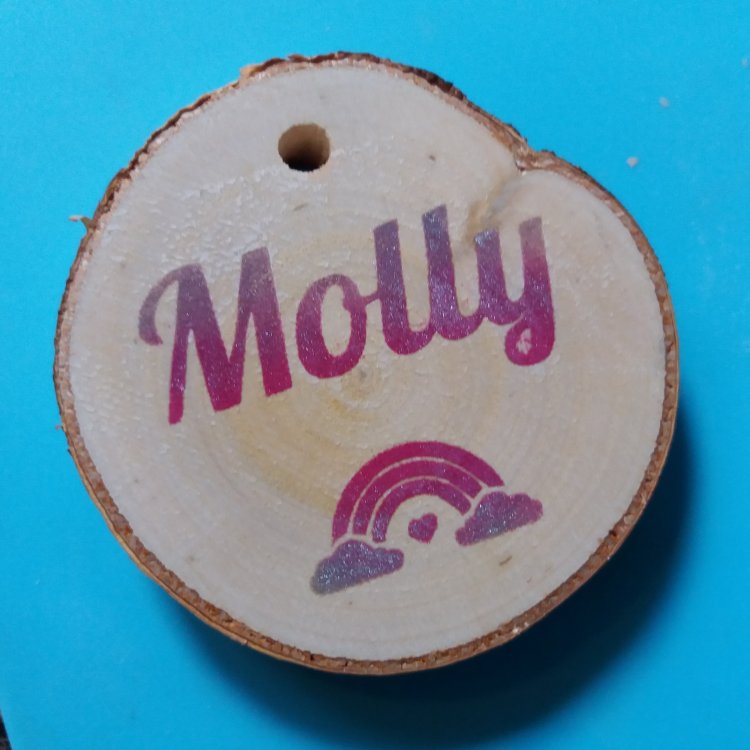
Ah yes that's the original video i watched to gave me the idea to do it. But seems no matter what I do it just wants to soak into the birch wood, even if I use a small amount on a tiny paintbrush. I think I may have to give up with it, I've tried 3 different ways on the wood slices and none worked. On the remaining blank side of one, I just decided to try using an ink pad and it came out really well. I need them to be neat and consistent with a stencil as Its for my etsy shop. This is with pink and silver ink:
-
Nope, spraying 2 coats and leaving it to fully dry and then applying stencil etc.. has not works at all. I applied the solution with the stencil on, lifted the stencil off and the solution had still soaked into the wood instantly, bleeding all under the stencil, even though it's been sealed!?! Perhaps the wood is just soaking in the sealer varnish too..? So I don't have a clue, I thought the birch would be much easier than the test wood but it's proving to have much more of an issue.. Left side = reverse stencil, sealer, stencil off, apply solution, heat. Right side = Sealer all over wood, apply normal stencil, apply solution, stencil off, heat. neither good results

-
Yeah I was looking for something like that too, I was seeing if I could find a matt one (that one gives a satin sheen apparently) but it might still look ok anyway. I'm trying one more attempt now, on an actual wood slice I'll be using. I've just tried it on one already and turns out the stencil seems to leave some of it's adhesive on the silver birch, even after sanding it more. So now I'm going to try one more go - I'm spraying the whole thing in varnish, waiting 20 mins (Touch dry) spraying another coat, waiting 1 hour (full dry) and then applying the normal stencil over the top and applying the solution (this way it'll protect the solution from going where I don't want it). Then peel the stencil off and heat with gun and it should heat through the lacquer on those areas. Fingers Crossed! If that doesn't work I may have to try the high temp lacquer or just resort to using stain, paint, or ink, which I didn't really want to do but might be the only option to get a neat design. Thanks for all your help and suggestions so far by the way!
-
I'm not too sure what other people have used, one video they show they are using rustoleum enamel clear spray. I'm about to try it again but I'm going to try paint the solution on more carefully and also maybe try a lower heat but take longer over the areas
-
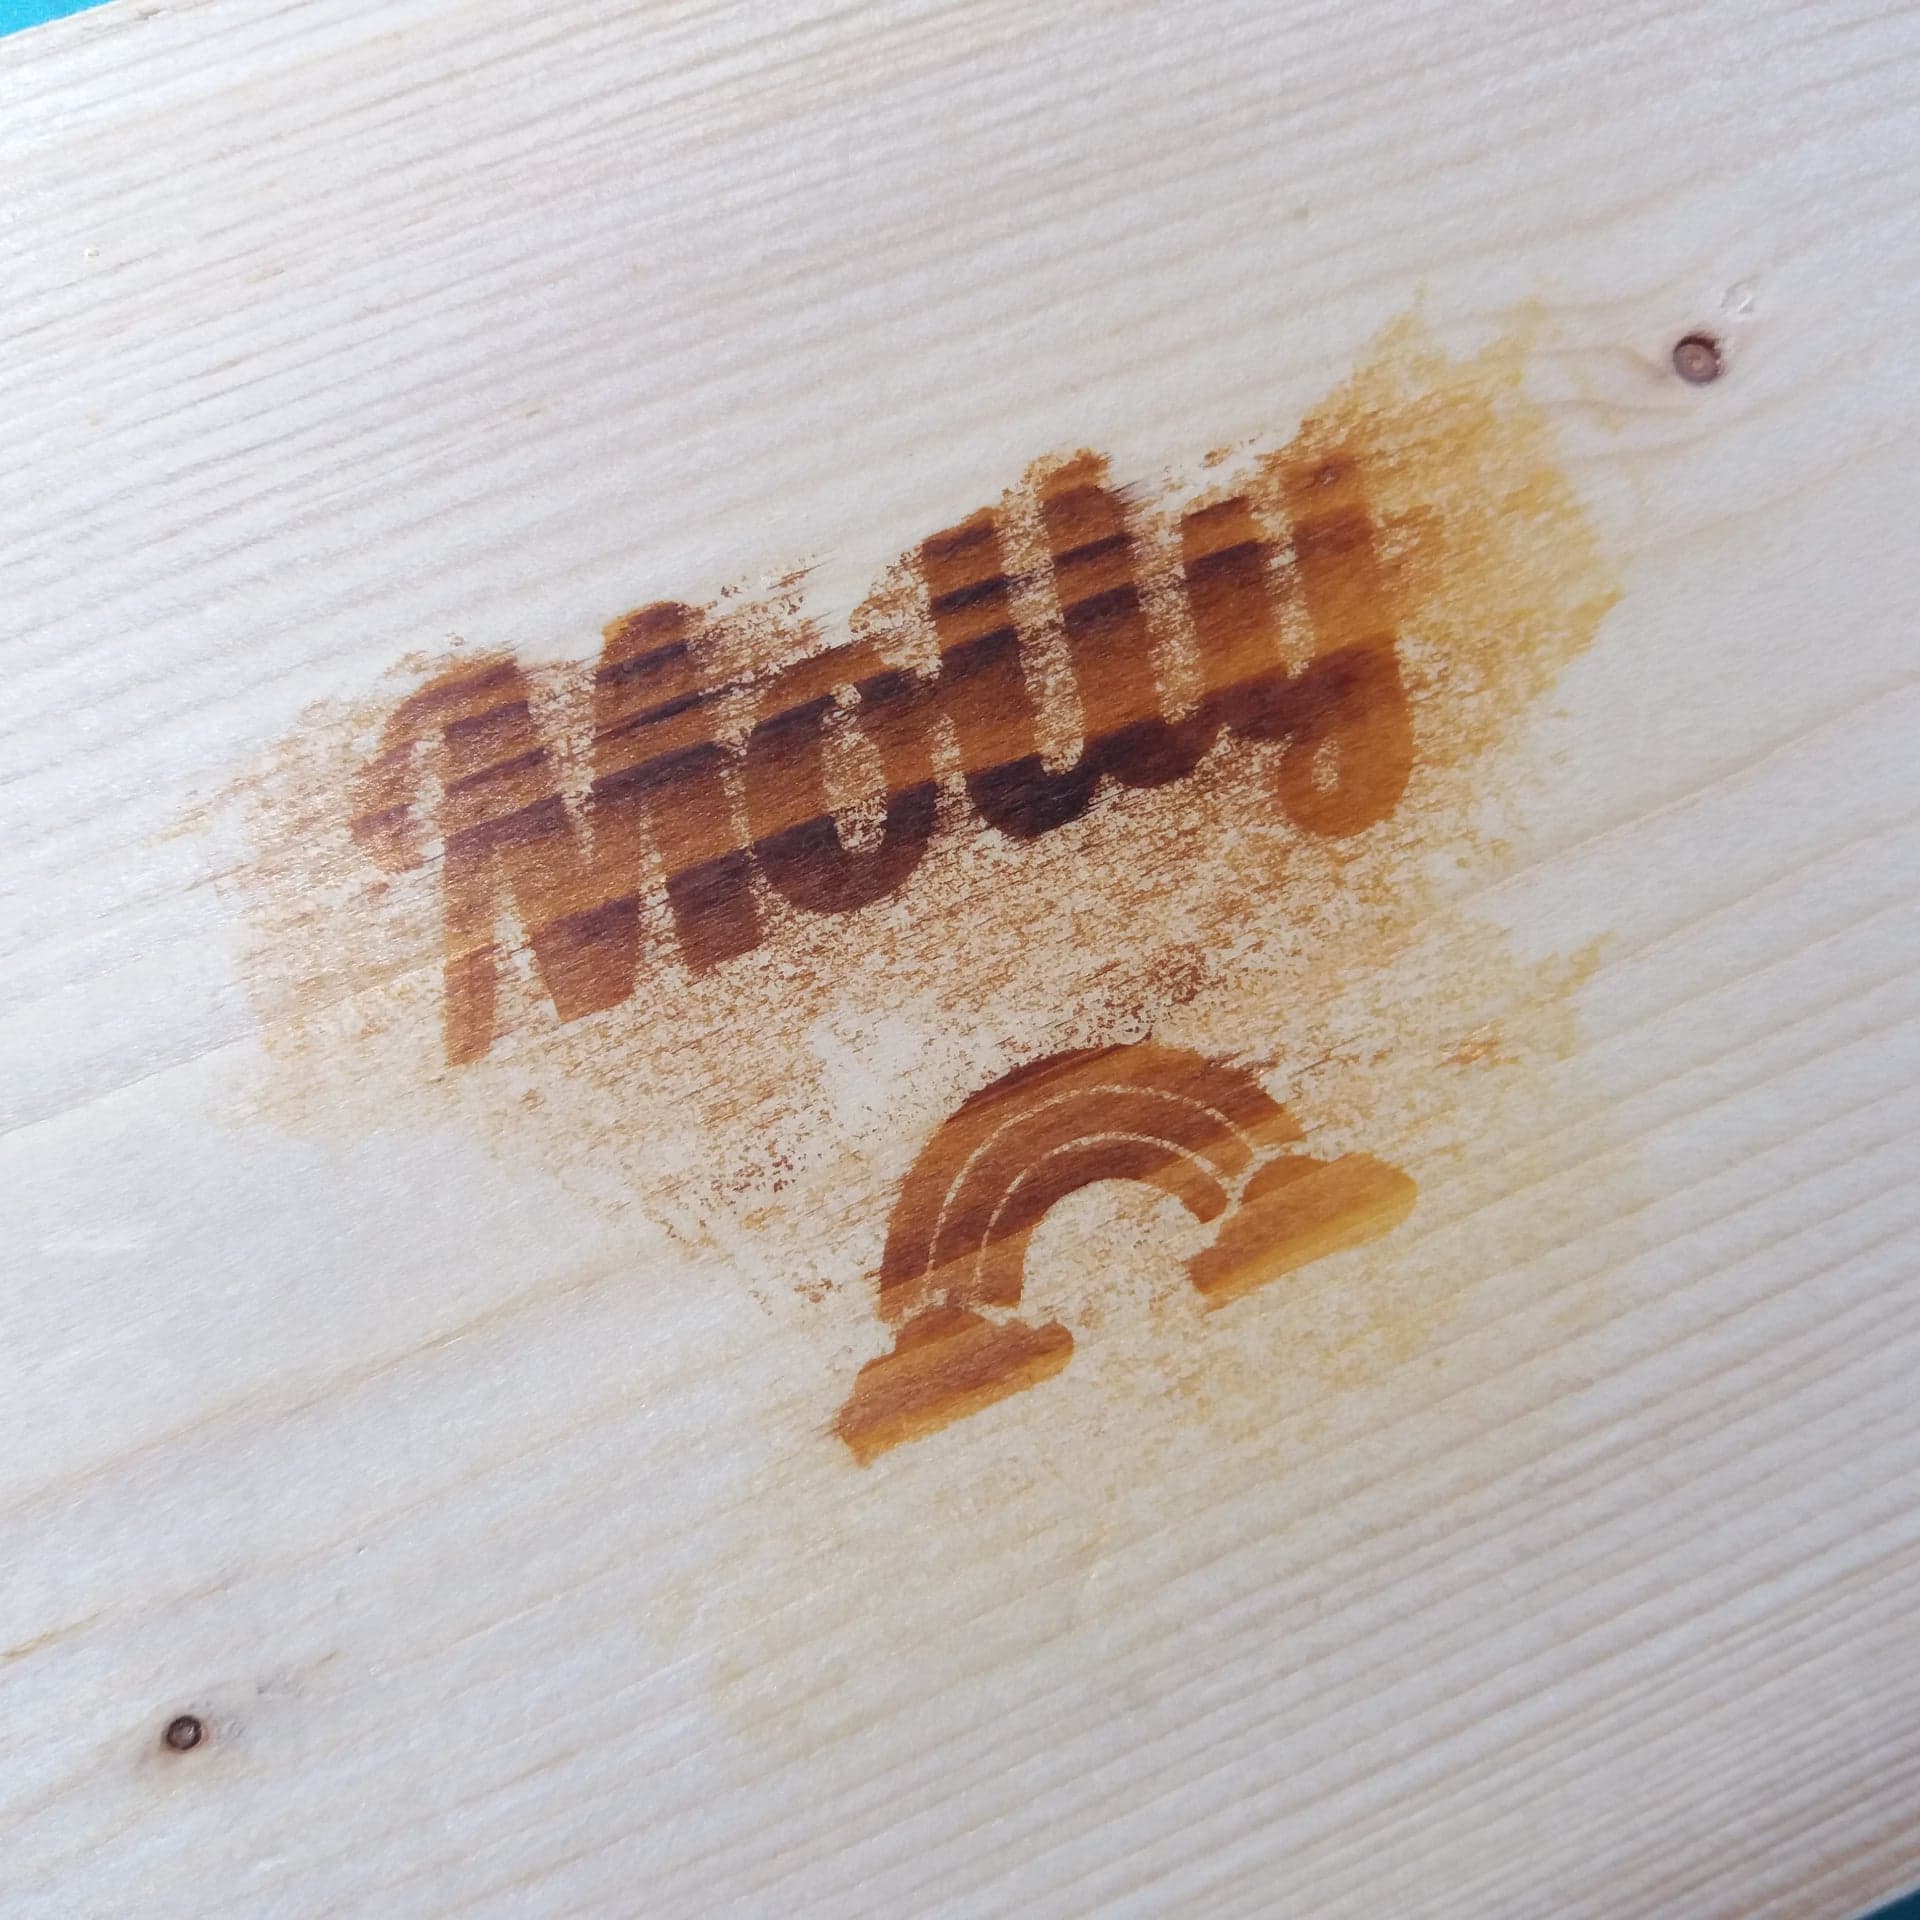
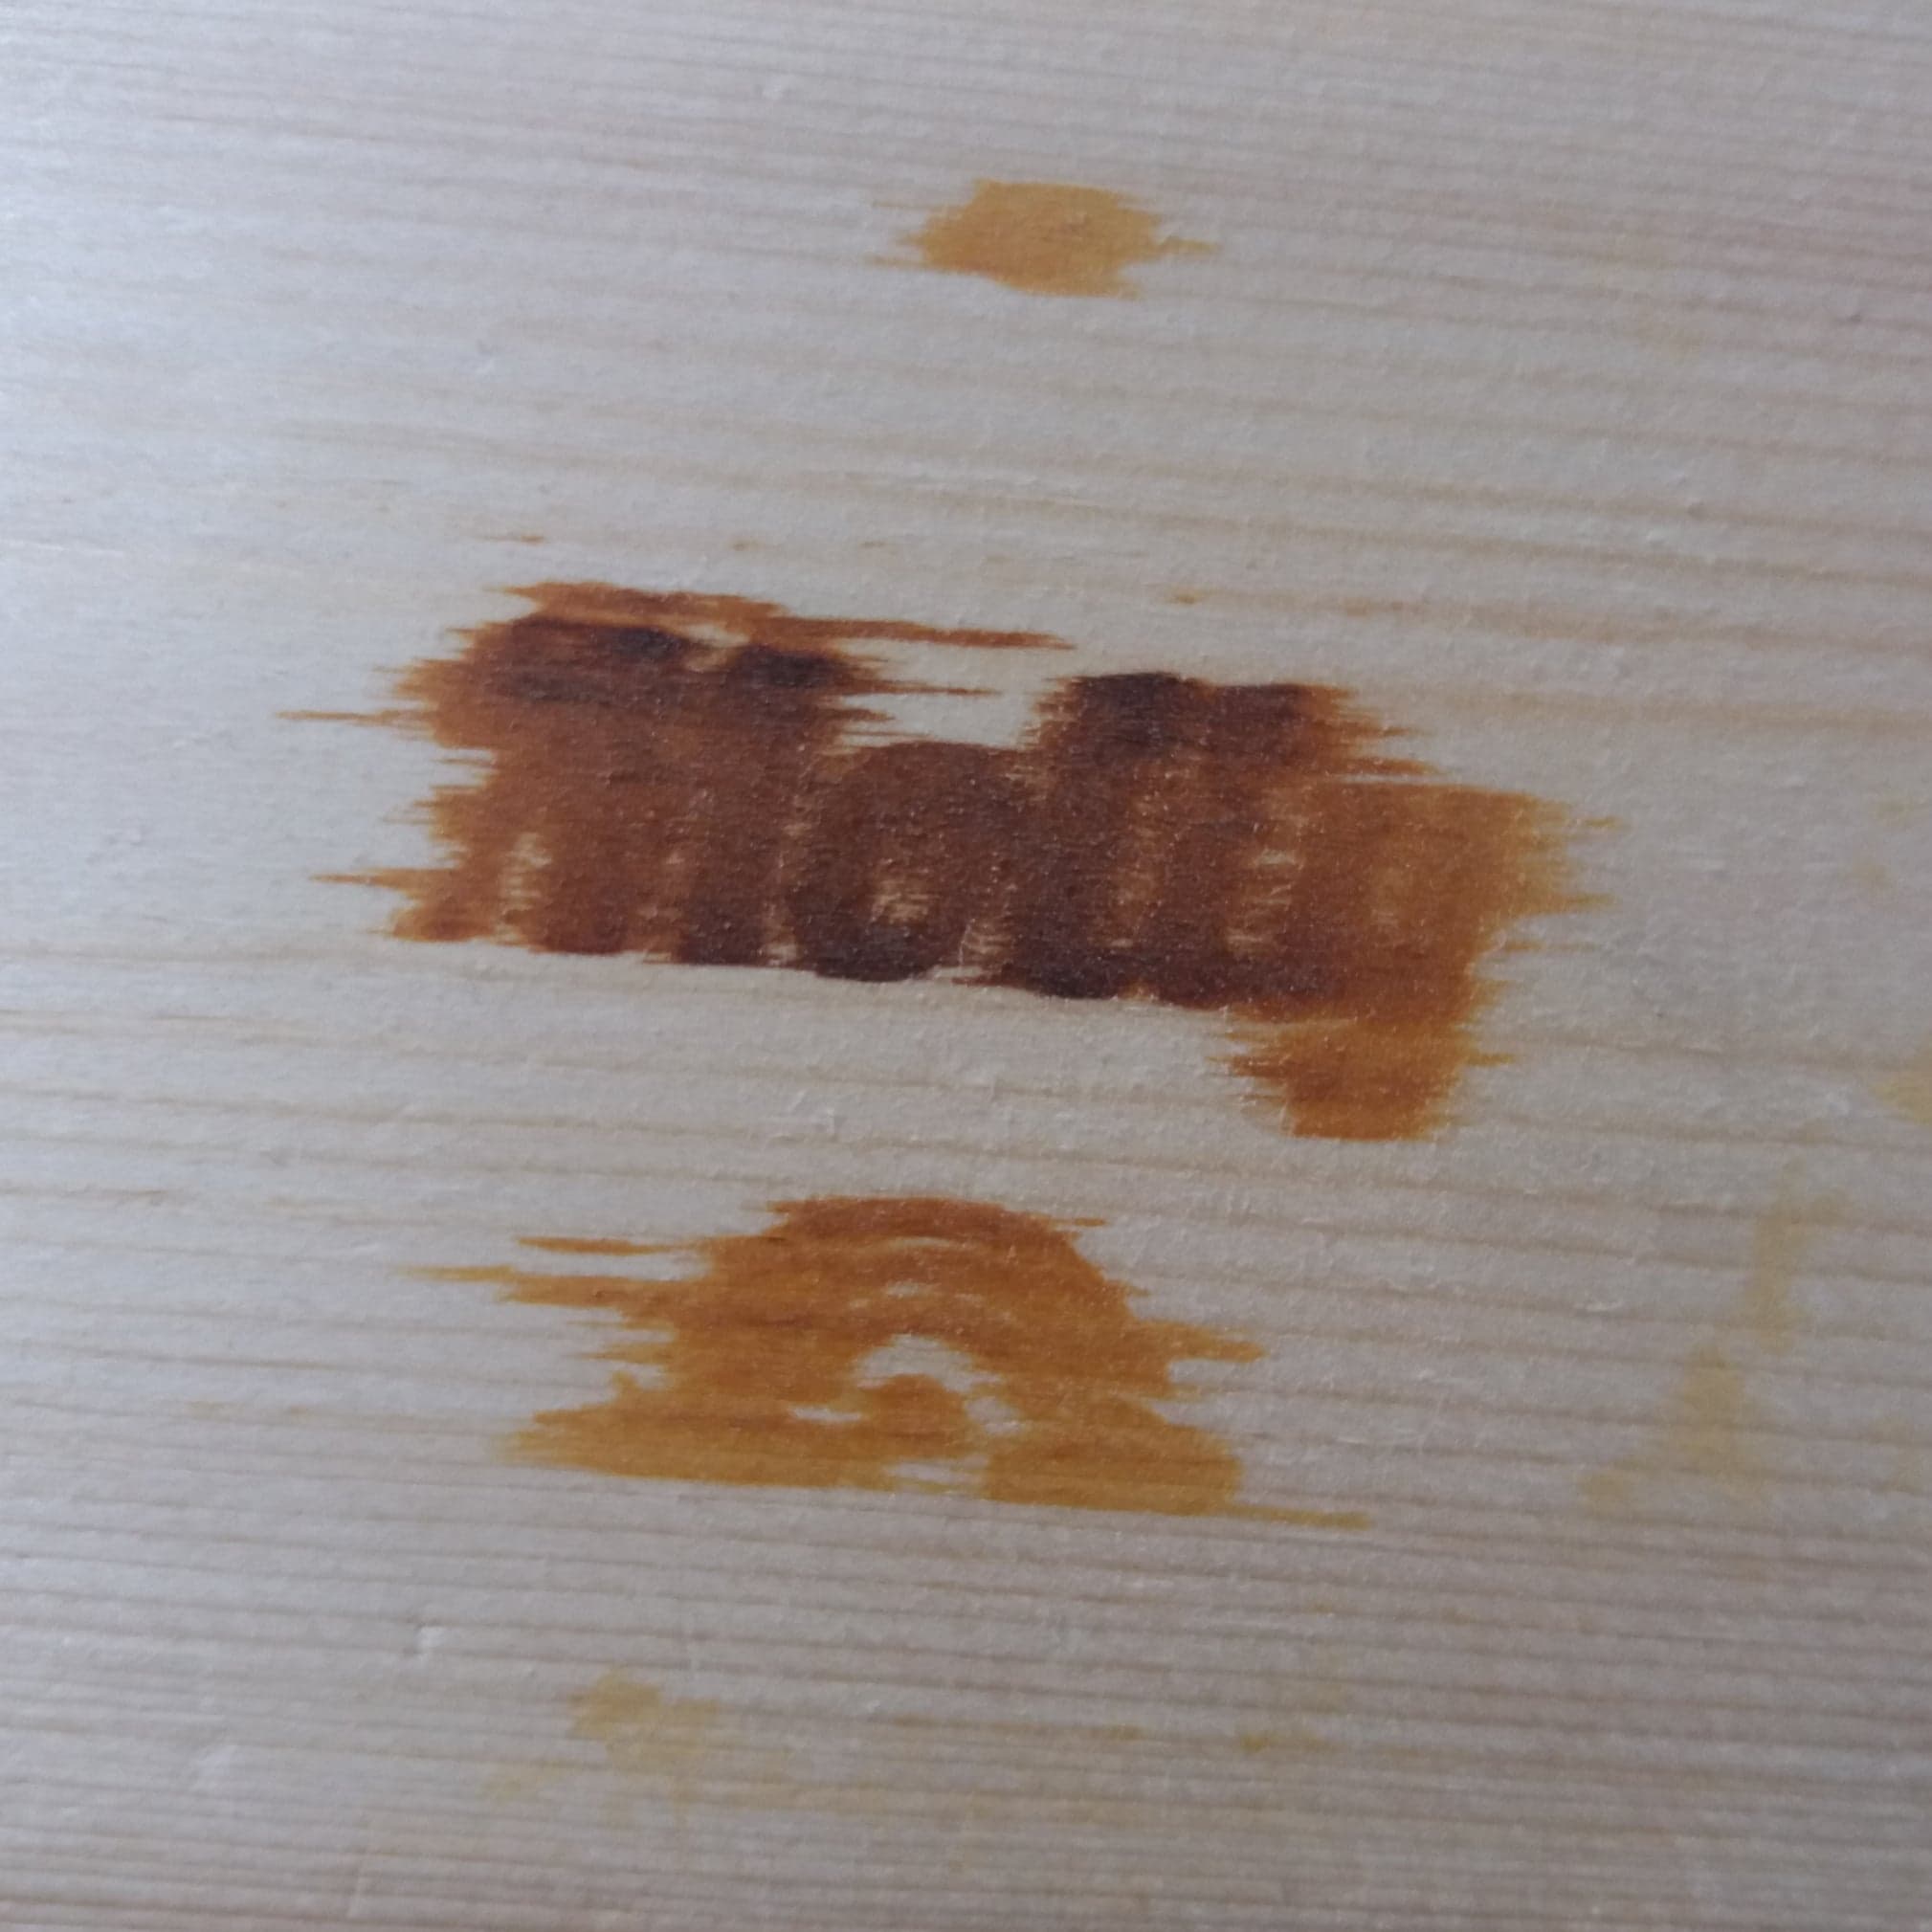
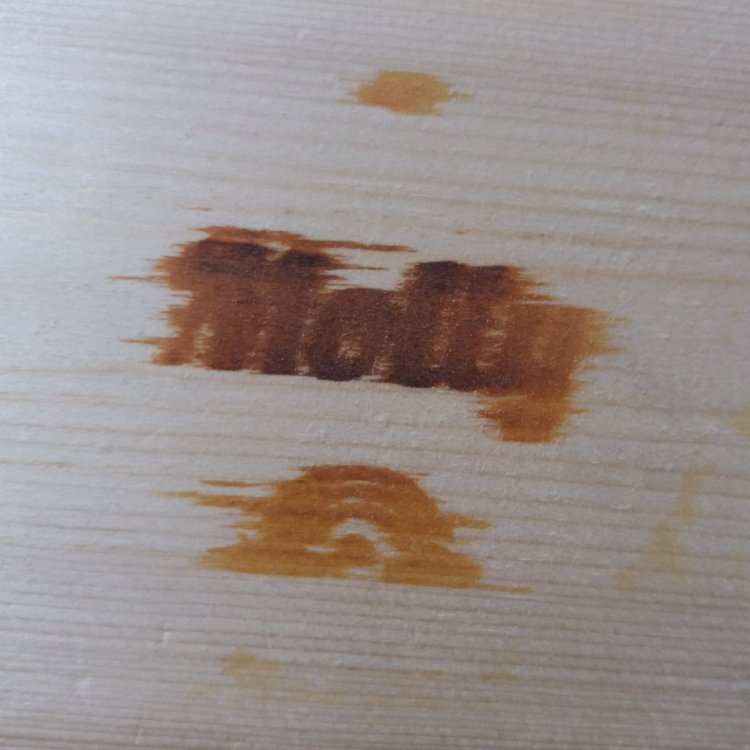
Heya, I've tried it again, this time waiting longer between the coats of spray and then leaving it overnight (say only takes an hour to full dry anyway) I applied the solution now and quickly got the heat gun straight on it. Well the actual design looks brill and hardly any bleeding basically. But what it looks like to me is that the varnish is burning/the heat gun is burning through the varnish to the wood? Appears that if you get any of the solution on the varnished area then it's just going to burn through the varnish as well, so not sure how to get around that other than using a small brush and trying to paint each little area really carefully and try and not go outside the stencil area.

-
Ok thanks so much. The wood is just a test piece I'm using before applying this technique to my craft projects which are very smooth silver birch log slices, so I think it will work much better on them I reckon. This test piece is just a length of kiln-dried, planed softwood timber cladding I got from a DIY store. (was only 69p) I think I'll try again tomorrow and I'll sand the area really well first to make it super smooth and then apply the varnish again, but leave it to dry longer between the coats and see if that makes a difference.
-
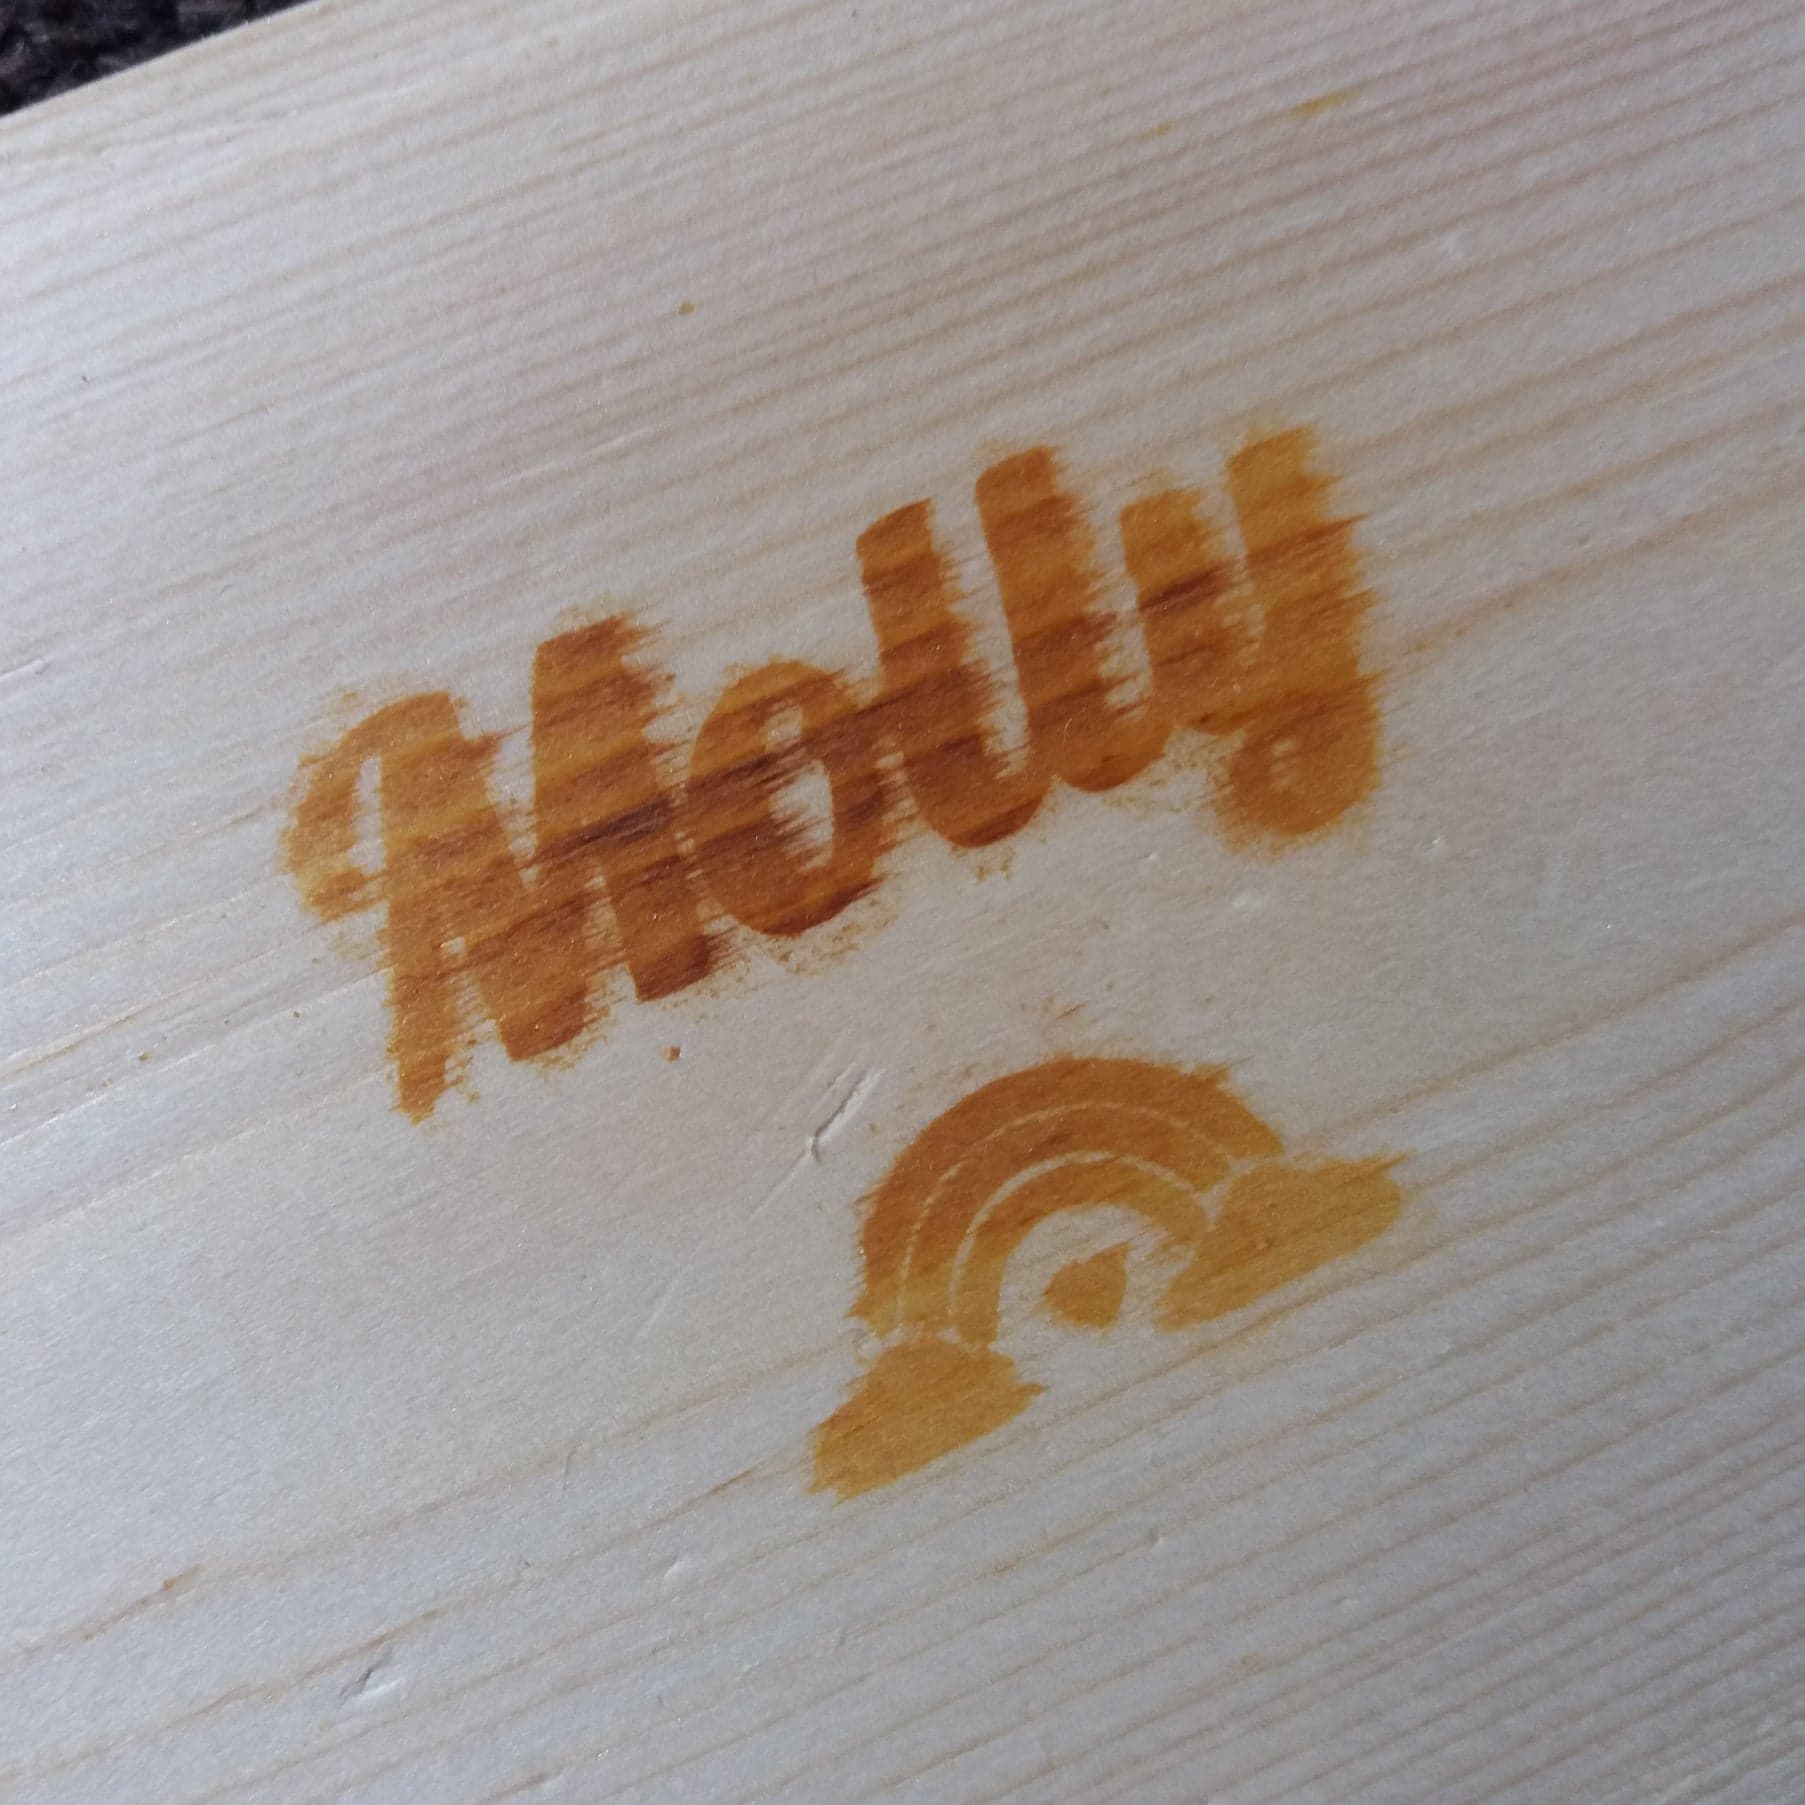
It was a very fine misting when I applied it, I don't think the spray got under the stencil vinyl at all as when I peeled the vinyl off you could see the difference in the wood surface. This is the stencil: (and I reversed it for the spray sealer attempt) This was the first attempt, applying the ammonium water solution straight onto it: This was the 2nd attempt with the reversed stencil and spray sealer: Much better, but still bled and over time it's become more blurry now too.


-
Hi, Thanks for the reply I tried this method, I reversed the stencil and sprayed Plasti-Kote clear matt sealer over the area. I did about about 3 light coats but didn't leave much time between them. I let it dry, removed the stencil and painted on the ammonium solution and used the heat gun on it. It worked a bit better than without the spray coat but it's still bled. Maybe i'll try that method again, doing more coats and leave more time between them. I'll see if I can upload a couple of pics.
-
Hello all, (Sorry if I've posted this in the wrong section)I have a question for all you clever souls out there!I'm doing some chemical woodburning, using a mix of ammonium chloride and water, then applying a small amount over a stencil vinyl, peeling it off and then using a heat gun to burn the design into the wood.I am having a problem with the solution soaking into the grain instantly and therefore bleeding.I've tried a reverse stencil, spraying varnish then peeling off the stencil and using the solution on the bare areas, but it's still soaking into the grain and blurring the design.So I'm thinking, how about if I can thicken the solution to a gel like consistency? (Like how you can use a gel wood stain which helps to prevent bleeding with stencils)Does anyone know what would be the best way to go about this, would gelatin work? Or would some other thickening agent work better?Any help greatly appreciated!!Thanks, Becky